This article explain how you can setup a ZTNA network using the free plan of CLoudflare Zero Trust
We use to say that if it’s free it’s because you are the product…. in this case I suppose that it’s more to catch paying clients but anyway that’s still interesting you get a free ZTNA solution for 50 users.
This offer an alternative to a traditional vpn and as it is free we can give it a try… who knows….
I have to mention that I don’t work for cloudlfare, I don’t get any money or advantages back from cloudflare.
I won’t describe how to create an account on cloudflare, that’s pretty straight forward….
Once connected and you are on https://dash.cloudflare.com, just click on zero trust.
Having to put your credit card or your paypal account in order to be able to use the free plan just sucks….
Anyway, I failed to be reasonable and put it….
My understanding
Cloudflare tunnels
From my understanding, Zero trust rely on cloudflare tunnels to interconnect networks. Under the hood it rely on the QUIC protocol and works by establishing a number of multiplexed connections between two endpoints using UDP… ok I have hit my limit :-)
Anyway all I keep in mind is that it’s HTTP/3 and made to be efficient and fast.
Warp client
That’s the client part, works on IOS, MacOS, linux (only in cli but that’s sadly usual) ….
Some cool things I see is that you can define centralized policies to force connection et reconnect after a delay. You can have an always on mode on linux too so no need to worry about once you have succesfully connected on the first time.
What is included in the free plan ?
So the pricing page detail what are my limits :

- 50 users is already a lot for me, great
- 24 hours of activity logging is not a lot, I will have to check if I can extract it and put it in log files
- 3 network locations : OK I have got only one :-)
- The rest are basic features but will see if it’s sufficient
Installation
Install a cloudflared tunnel
In the Access menu, go on sub section Tunnels and click on Create a tunnel

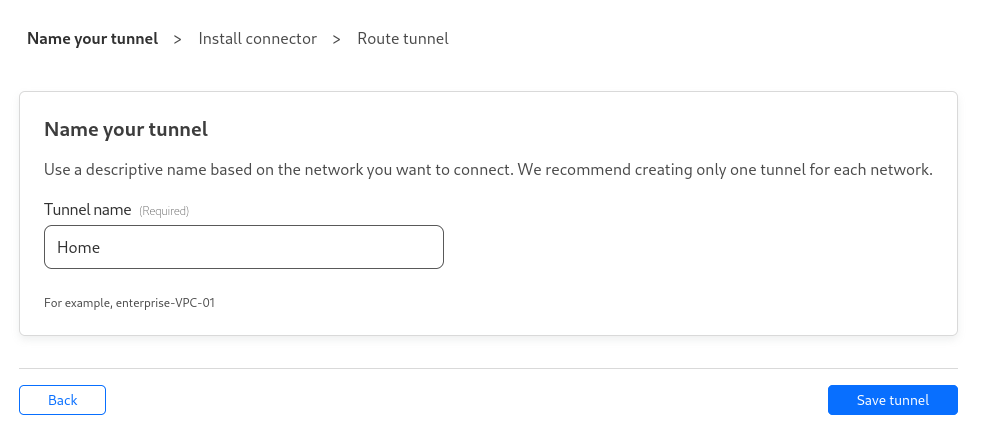
Define a logical name for your tunnel and click on Save tunnel
Next, select the operating system that will run cloudflared on your network, in my case it will be a docker container

This sound great but I don’t like running docker run and I really prefer a docker-compose file. Also as I daily deploy apps on Kubernetes I won’t use the latest tag…
So my docker-compose.yml look like this :
|
|
Of course you will need to create the necessary folder on your docker host (I don’t like docker volumes :-)).
|
|
Seems to be working :-)
Add some policies in order to be able to access to my local network, click on the three dots on your tunnel and then configure.

And then click on Private Network

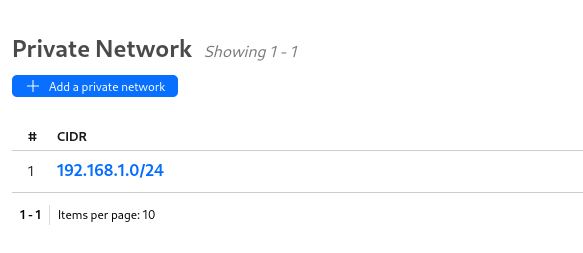
Click on Add a private network and then add the CIDR on your home network (in my case it’s a basic private subnet quite standard).
It should look like this
You should be good for the tunnel part for now
Configure the warp client
This section have to be configured in the Settings - WARP Client

- Device enrollment : By default users can enroll by using a one time password sent by email. You can put some policies for example based on the domain name in the email address… or you can use your own identity provider. As I use Authentik on my homelab I will use it by default.
- Local Domain Fallback: Here I can define a specific dns server for my internal domain name
- Device settings: Here you can define some policies on how the warp client works like Auto connect, Lock WARP switch (to prevent users to turn off the tunnel). It’s well commented and don’t seem to cause any issue here.
What is interesting here is related to split tunneling, here you can have an inclusion or exclusion mode. Don’t really know if I’m making a mistake here but I wanted to be sure that I can connect to my home network from the warp client so I choose the include mode and added my homelab network.
Configure the authentication
Now we can couple with my Identity provider.

Click on Add new and choose one of the list (for me it will be OpenID Connect)
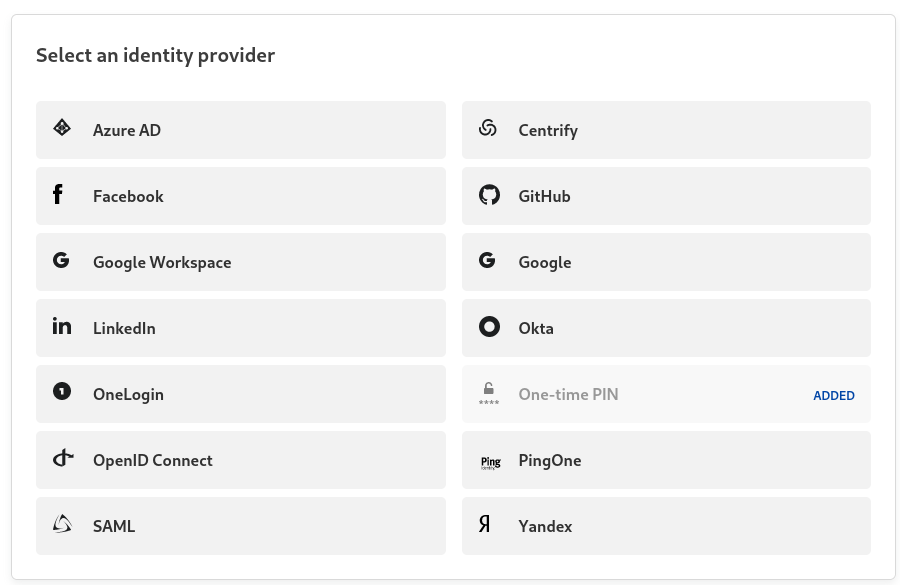 OpenID Connect is quite straight forward to configure, the hardest part rely on the Identity Provider.
On Authentik, connect as an administrator and click the Admin Interface button
Then navigate to the Applications - Providers section
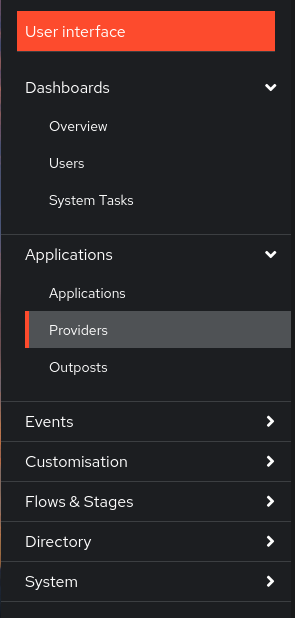
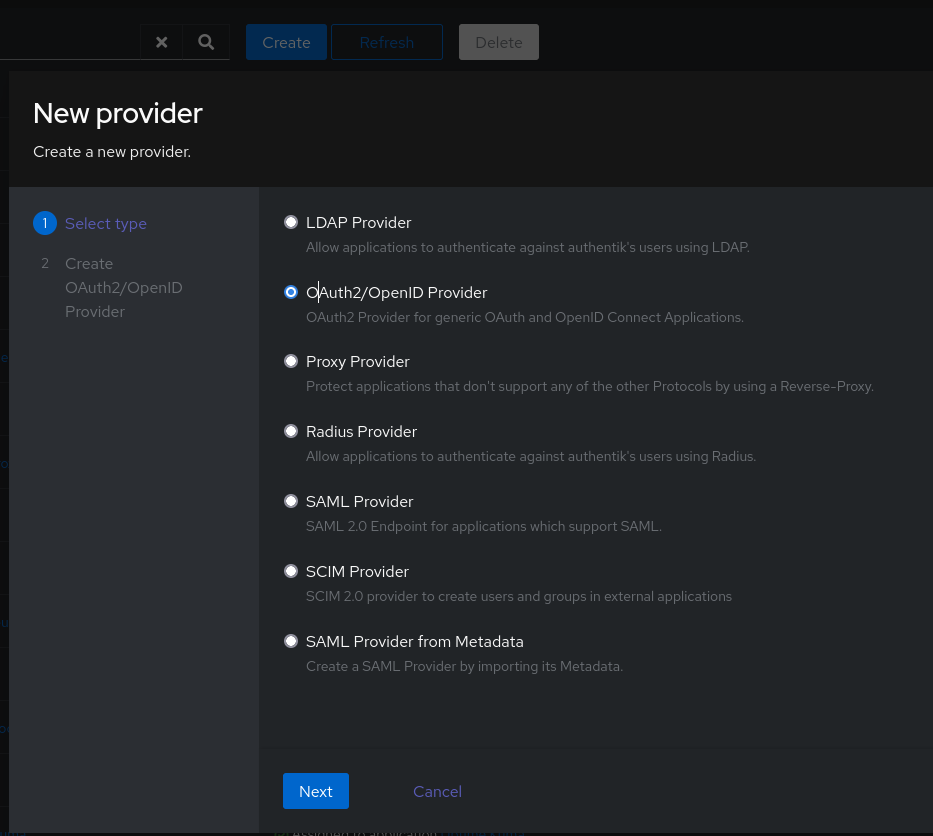
Click on Create and select Oauth2/OpenID Provider
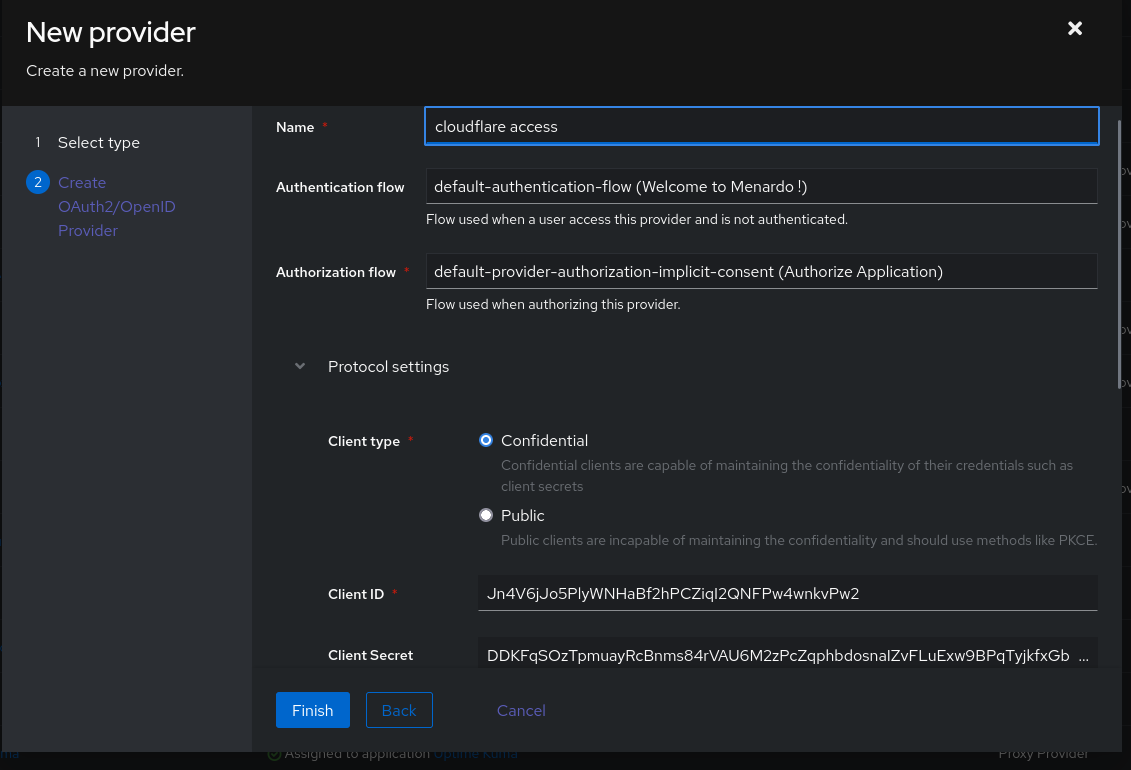
Define a provider name and select which Authentication and Authorization flow you want. Client type have to remain to Confidential
Copy the Client ID and Client Secret
One thing you need to have is on the Cloudflare part when you create the Open ID Connect authorization you will have the valid redirect url. In the screenshot bellow myteam refer to the name of my tenant (which is not myteam obviously it’s just fake data… but you got it right ?)
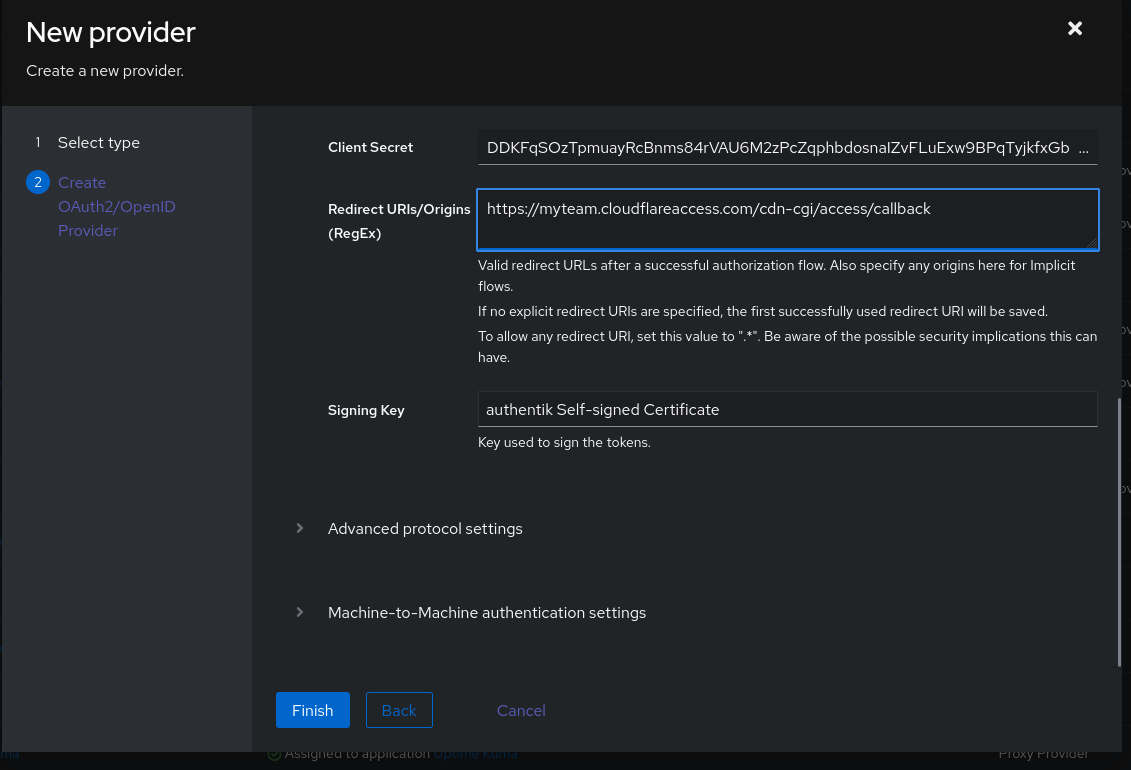
Click on Finish, you can click on the created provider and it will display all the settings you will need on cloudflare.
You just have to copy paste :-)
One last thing Proof Key for Code Exchange (PKCE) remain to Off
Just click on Save and Hit the Test button.
If everything goes well, you should be able to connect with your Identity Provider.
Configure the warp client to use our Identify provider
In the Warp Client section click on Device enrollment permissions
In my case I want to use only Authentik, so I can disable the One time token (I don’t like it, it’s not a blog…).
In the Authentication tab I only select my new Auth mecanism like bellow.
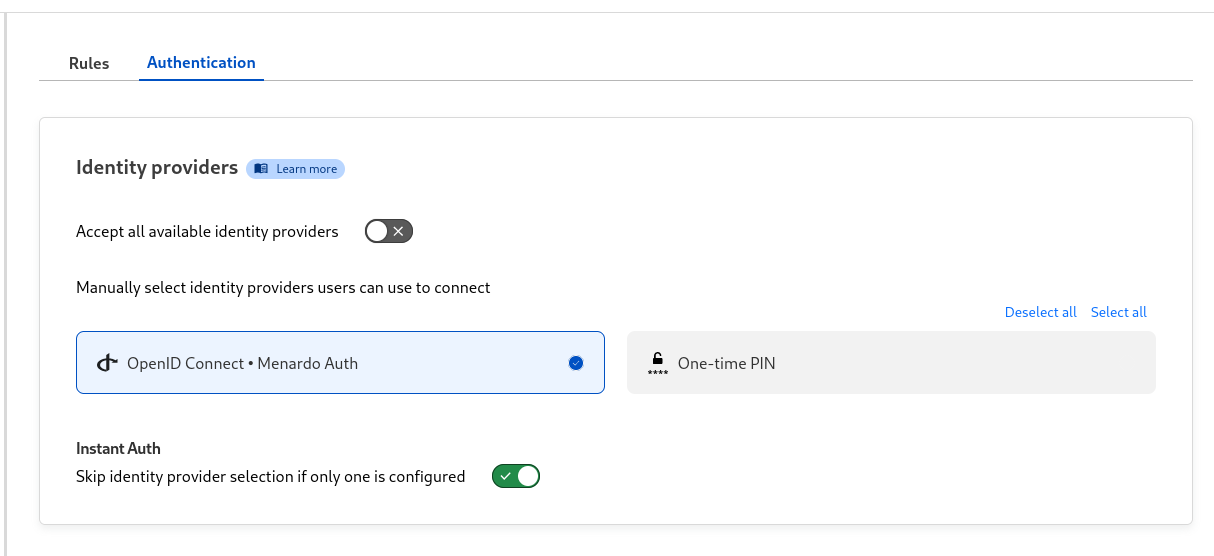
I have enabled the Instant Auth section as I only have one provider.
